Bathroom Installation Nottingham is usually searched right after someone has had “the shower incident”. You know the one. Cold. Then boiling. Then cold again. Like the shower is trying to keep you humble.
If you’re planning a bathroom upgrade in Nottingham (or nearby), this guide walks you through the full process — from early design choices to the final handover — so you know what to expect and how to avoid the common time-and-money traps.
This is written by Hive Installations, and we’ll keep it practical, plain-English, and focused on getting a bathroom that looks great and works properly.
Step 1: Start With Design That Fits Real Life
The best Bathroom Installation Nottingham projects start with design choices that match how you actually live. Not how a showroom model lives (they never leave toothpaste splatters… suspicious).
Before you pick tiles and taps, nail down the big decisions:
- Bath or walk-in shower? (or both, if space allows)
- Storage needs: vanity unit, mirrored cabinet, tallboy
- Lighting: task lighting + softer ambient lighting
- Ventilation: fan position and airflow to manage condensation
- Maintenance: easy-clean surfaces and sensible grout lines
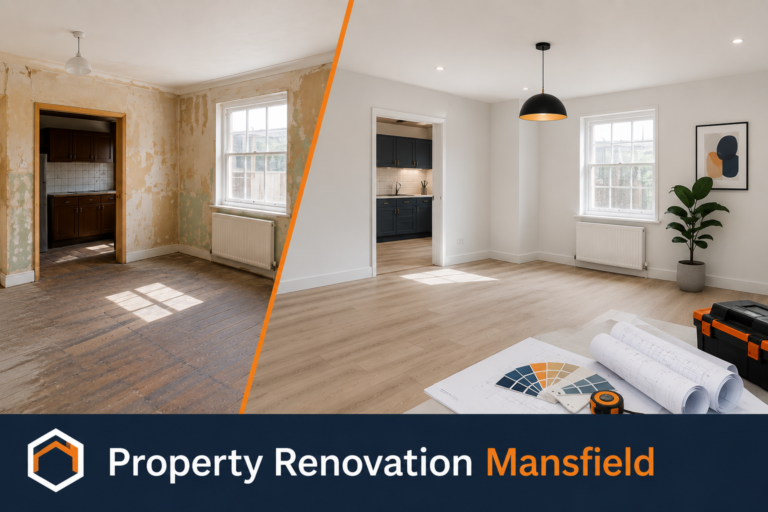
If your bathroom is part of a wider refurb (new kitchen, decorating, layout tweaks), plan the order early. This is exactly what we cover in our internal guide: Property Renovation Midlands. Doing rooms in the wrong order is how people end up paying twice.
For local context, Nottingham’s a mix of older terraces, semis, and modern developments — each with different quirks and pipework realities. A quick overview of the city is here: Nottingham (Wikipedia).
Step 2: Survey & Planning (Where the Smooth Jobs Are Won)
A professional Bathroom Installation Nottingham should begin with a proper survey — measurements, layout checks, and identifying what’s behind the walls and under the floor.
During a bathroom survey, Hive Installations typically looks at:
- Water pressure and existing pipe routes
- Waste runs and fall (important for showers and basins)
- Ventilation options (fans, ducting, external walls)
- Electrical requirements (lighting zones, shaver points, towel rails)
- Wall/floor condition (level, moisture, damaged plaster)
If you’re also doing the kitchen next, planning both schedules together can reduce downtime. Our Nottingham-specific sequencing guide is useful here: Kitchen Fitting Nottingham.
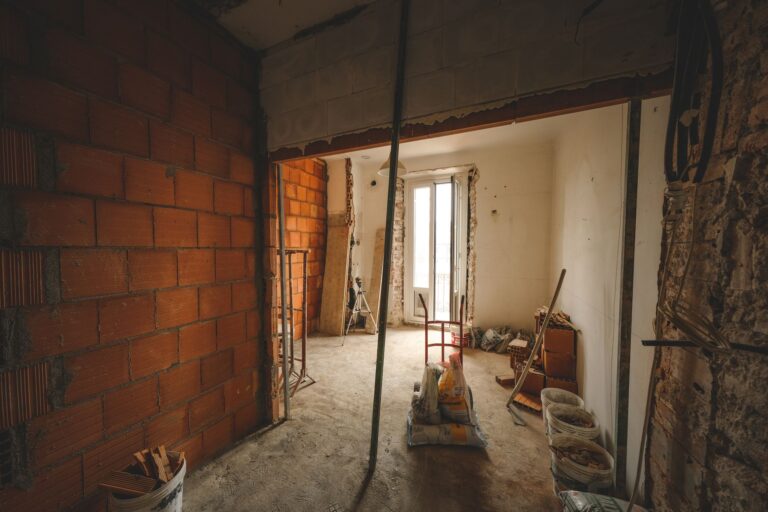
Step 3: Strip-Out (The Controlled Demolition Phase)
Strip-out sounds dramatic, but a good Bathroom Installation Nottingham strip-out is tidy, safe, and controlled. The goal is to remove what needs removing without turning the rest of your home into a dust museum.
Strip-out often includes:
- Removing old sanitaryware (bath, WC, basin)
- Taking off tiles and old flooring
- Disconnecting and isolating plumbing safely
- Making the space ready for first-fix works
Hive Installations focuses on protecting surrounding areas and keeping the site organised — it’s faster, safer, and makes the rest of the job run smoother.
Step 4: First-Fix Plumbing & Electrics (The Hidden Work)
This stage is where the “it looks nice” bathrooms separate from the “it works for years” bathrooms.
A well-planned Bathroom Installation Nottingham may involve moving pipework, repositioning wastes, installing concealed valves, and preparing electrical feeds for lighting, fans, and heated rails.
Electrical work in domestic settings can fall under Building Regulations requirements (including Part P in England and Wales). For a general overview: Part P (Building Regulations).
Step 5: Preparation & Waterproofing (Where Long-Term Quality Comes From)
Bathrooms are wet rooms (even if you don’t call them that). Water goes everywhere. Steam builds up. Grout takes a beating. So prep matters.
Depending on your layout, Bathroom Installation Nottingham prep may include:
- Boarding and strengthening walls for heavier tiles or furniture
- Levelling floors (common in older homes)
- Waterproofing/tanking in shower areas
- Repairing plaster or patching after strip-out
This is also where timelines and budgets can wobble if prep wasn’t accounted for. If you’re cost-checking your whole renovation, this internal article helps you plan allowances sensibly: Kitchen Installation Cost. (Yes, it’s kitchen-focused — but the budgeting logic applies perfectly to bathrooms too.)
Step 6: Fit-Out (The “It’s Becoming a Bathroom Again” Moment)
This is the stage most people picture when they think of Bathroom Installation Nottingham:
- Bath or shower tray fitted and sealed correctly
- WC installed and tested
- Basin/vanity fitted level, square, and secure
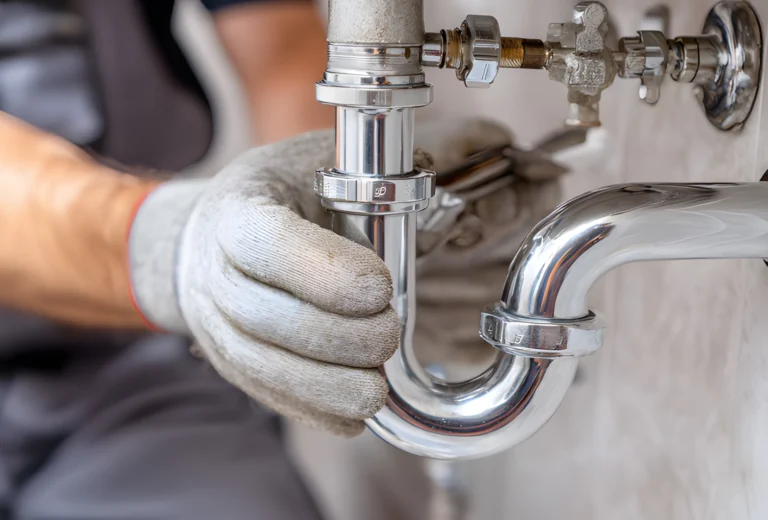
- Taps, wastes, and traps connected properly
- Heated towel rail installed (where included)
At Hive Installations, this is where we keep a close eye on alignment and finish — because if the vanity is off by even a few millimetres, your eyes will find it every single morning. Like it’s personally mocking you.
Step 7: Tiling, Flooring & Finishing (The Bit Everyone Sees)
Finishing work is what makes a Bathroom Installation Nottingham look premium. Not “fine”. Premium.
Common finishing elements include:
- Wall tiling (full height or splash zones)
- Floor tiling or bathroom-safe flooring
- Silicone sealing (neat lines, correct areas, no gaps)
- Trims, edges, and transitions
- Decorating touch-ups where needed
Neat finishing is also how you protect the work long-term. Most leaks start small — and small leaks become big problems if corners are cut.
Step 8: Testing, Snagging & Handover (The Professional Wrap-Up)
A proper Bathroom Installation Nottingham should end with checks — not a rushed “that’ll do”.
Handover checks typically include:
- Leak checks on all connections
- Drainage flow (no slow sinks, no standing water)
- Fan function and airflow
- Shower performance and temperature stability
- Final adjustments (doors, drawers, seals, trims)
If you’re also looking outside Nottingham (wider region), our broader internal guide is here: Bathroom Installation Midlands.
How Long Does Bathroom Installation Take in Nottingham?
Every home differs, but as a realistic guide for Bathroom Installation Nottingham:
- Like-for-like refit: often 5–10 working days
- Mid-level refurb (some changes): often 1–2 weeks
- Full redesign (layout changes + more prep): 2+ weeks
If your bathroom is being done alongside a kitchen, sequencing matters even more. The kitchen side of that planning is covered here: Kitchen Installation Midlands.
FAQs: Bathroom Installation Nottingham
Can you install a bathroom I’ve already purchased?
In many cases, yes. For a smooth Bathroom Installation Nottingham, confirm measurements, compatibility, and delivery dates before the job starts.
Do I need extra waterproofing for walk-in showers?
Often, yes. Walk-in showers and wet zones usually benefit from proper tanking and prep. It protects the finish and reduces the risk of future issues.
Will I need to move out?
Most homeowners stay put, but you’ll have periods without a functioning bathroom. A clear schedule helps reduce disruption.
Contact Hive Installations
If you’re planning Bathroom Installation Nottingham and want a professional, tidy job from design through to completion, speak to Hive Installations.
- Tell us your postcode area (Nottingham and surrounding)
- Share what you want to change (refresh vs full redesign)
- We’ll advise on the next step and what to prepare
Bathroom Installation Nottingham should feel structured, calm, and properly finished — and that’s exactly the standard Hive Installations aims for on every project.